Quickstart
This quickstart guide will walk you through initial onboarding, API key generation, Ethereum private key creation, and transaction signing via Turnkey.
Create your Turnkey Organization

- Visit app.turnkey.com/dashboard/auth/initial and enter your email address
- Confirm your email by clicking on the link inside of the confirmation email
- Click "Continue"

- Choose your first authenticator (laptop biometrics or security key)
- Pick a name for your authenticator and click "Continue"
- Pick a name for your organization and click "Continue"
- Log in by clicking "Get started"

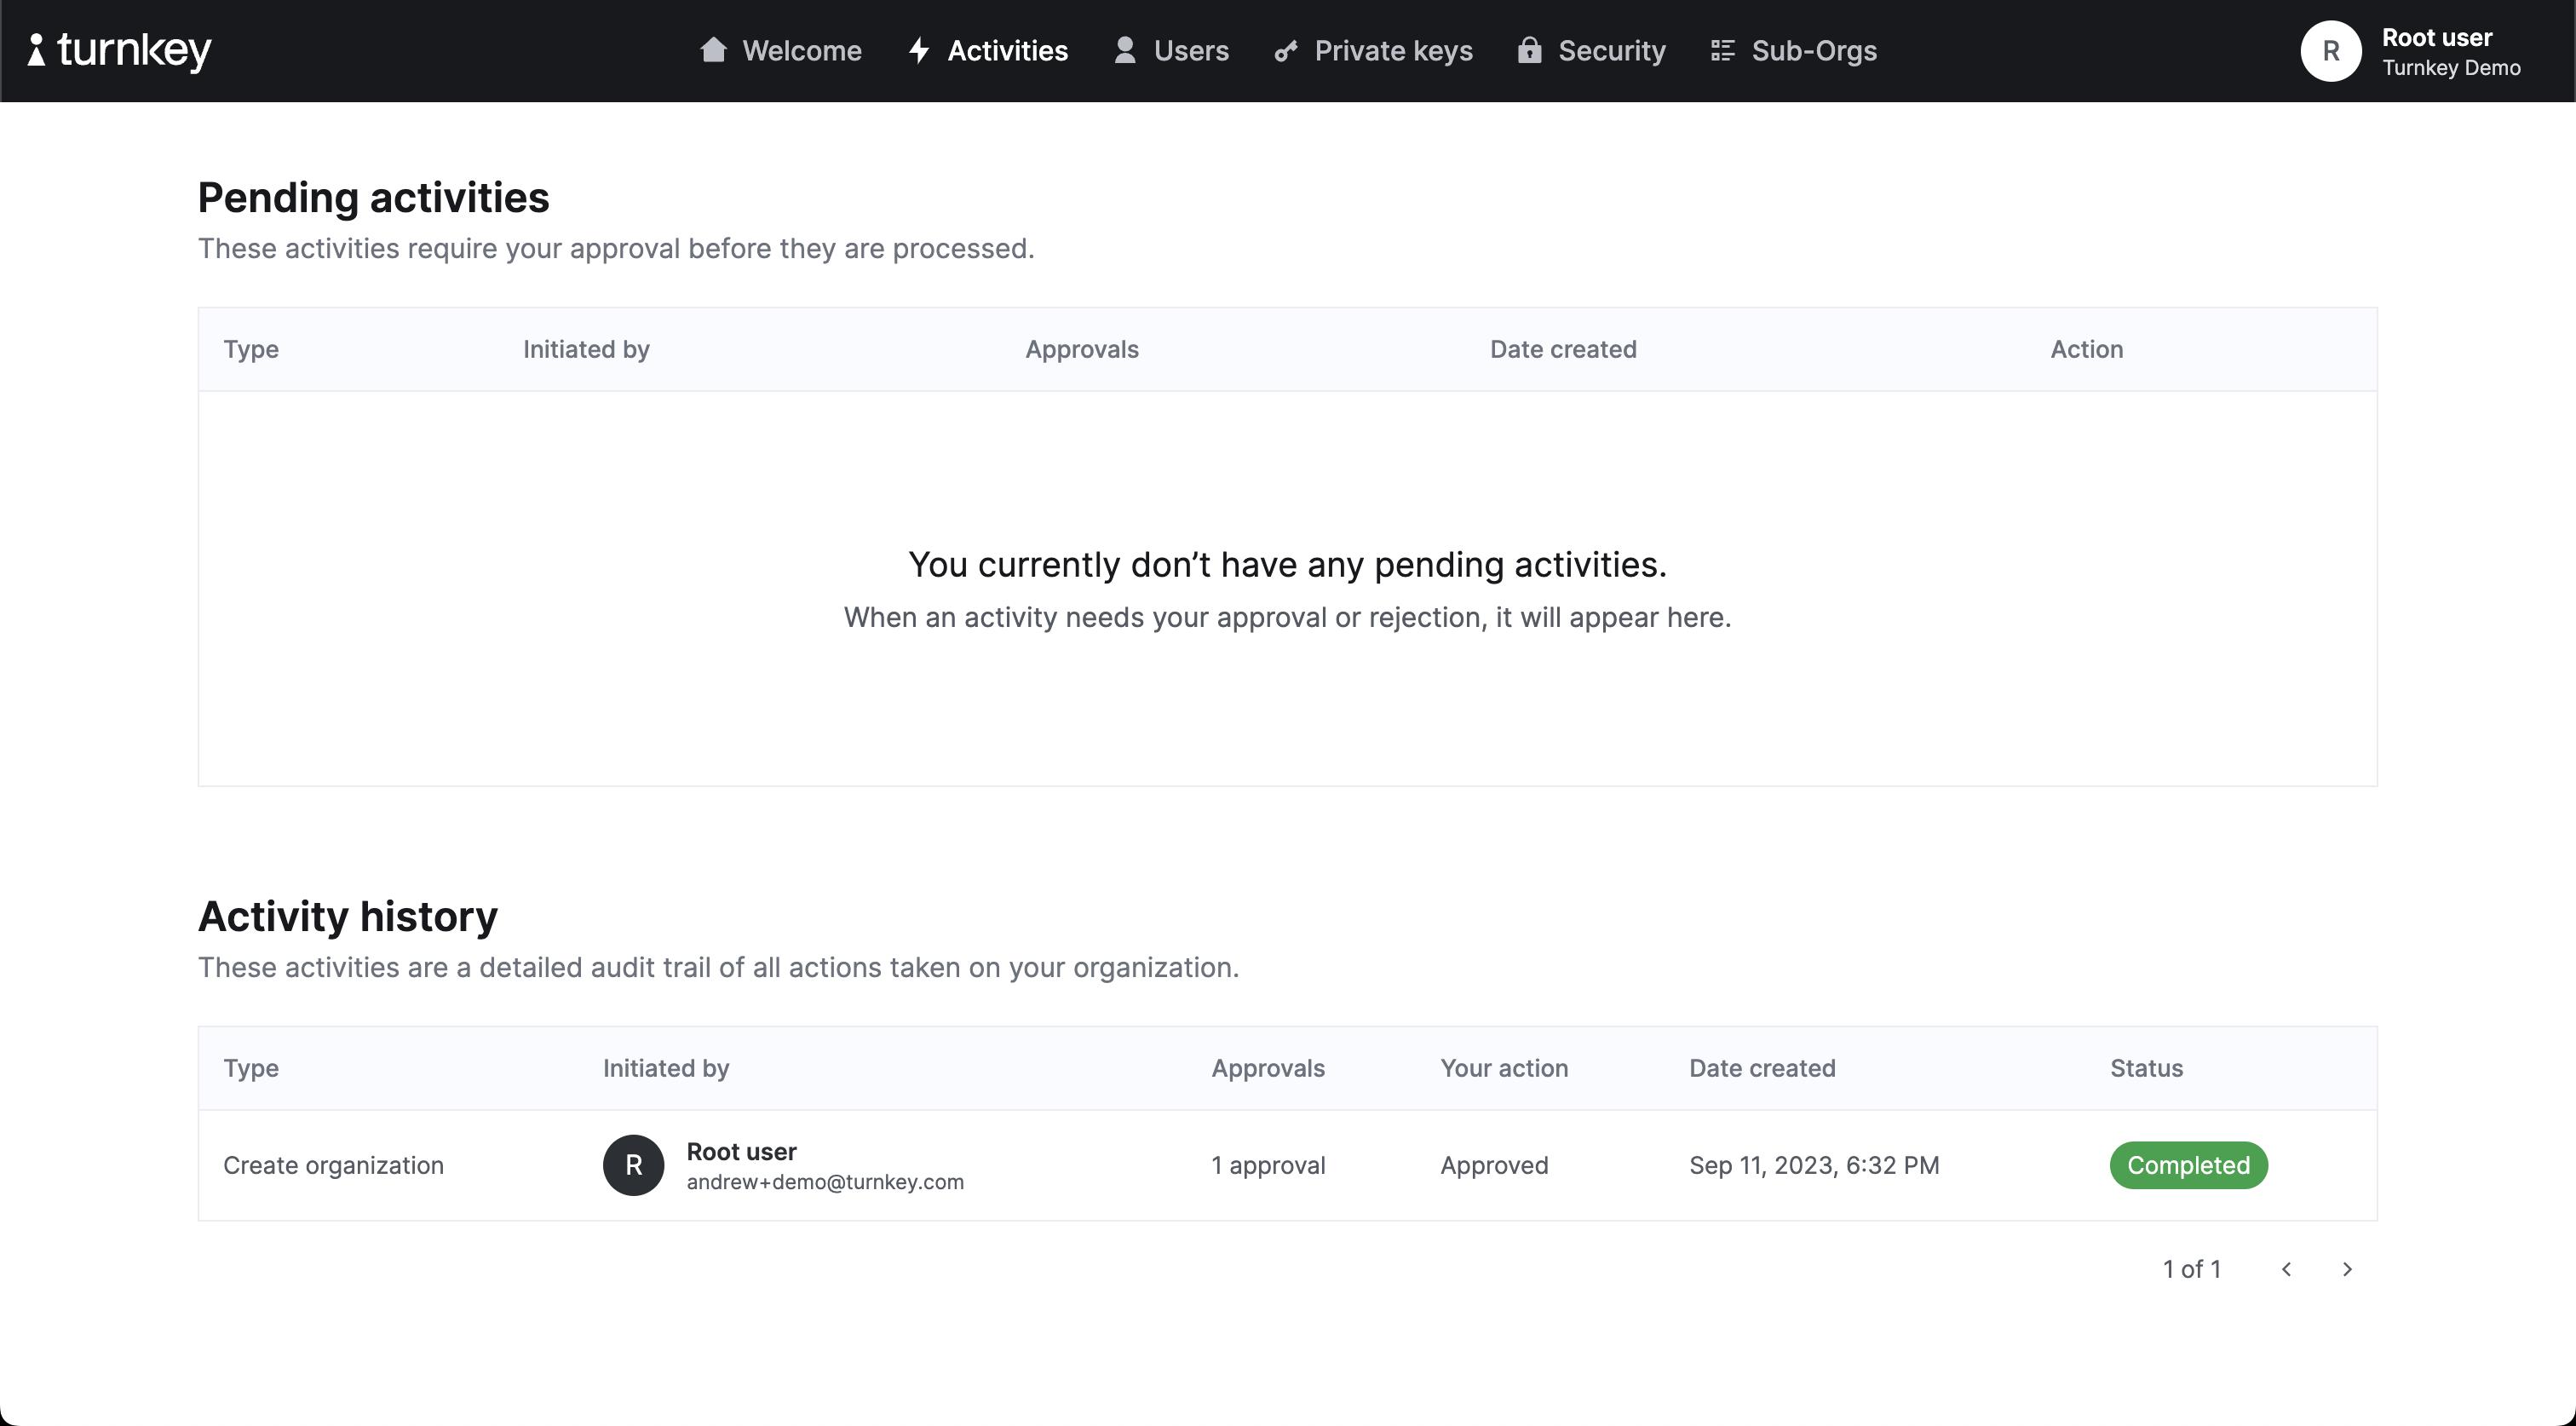
Once your log in is successful, you will land on the dashboard screen. You'll initially be on the Activities tab, and can explore the Users, Private Keys, Security, and Sub-Orgs tabs.
Find your Organization ID
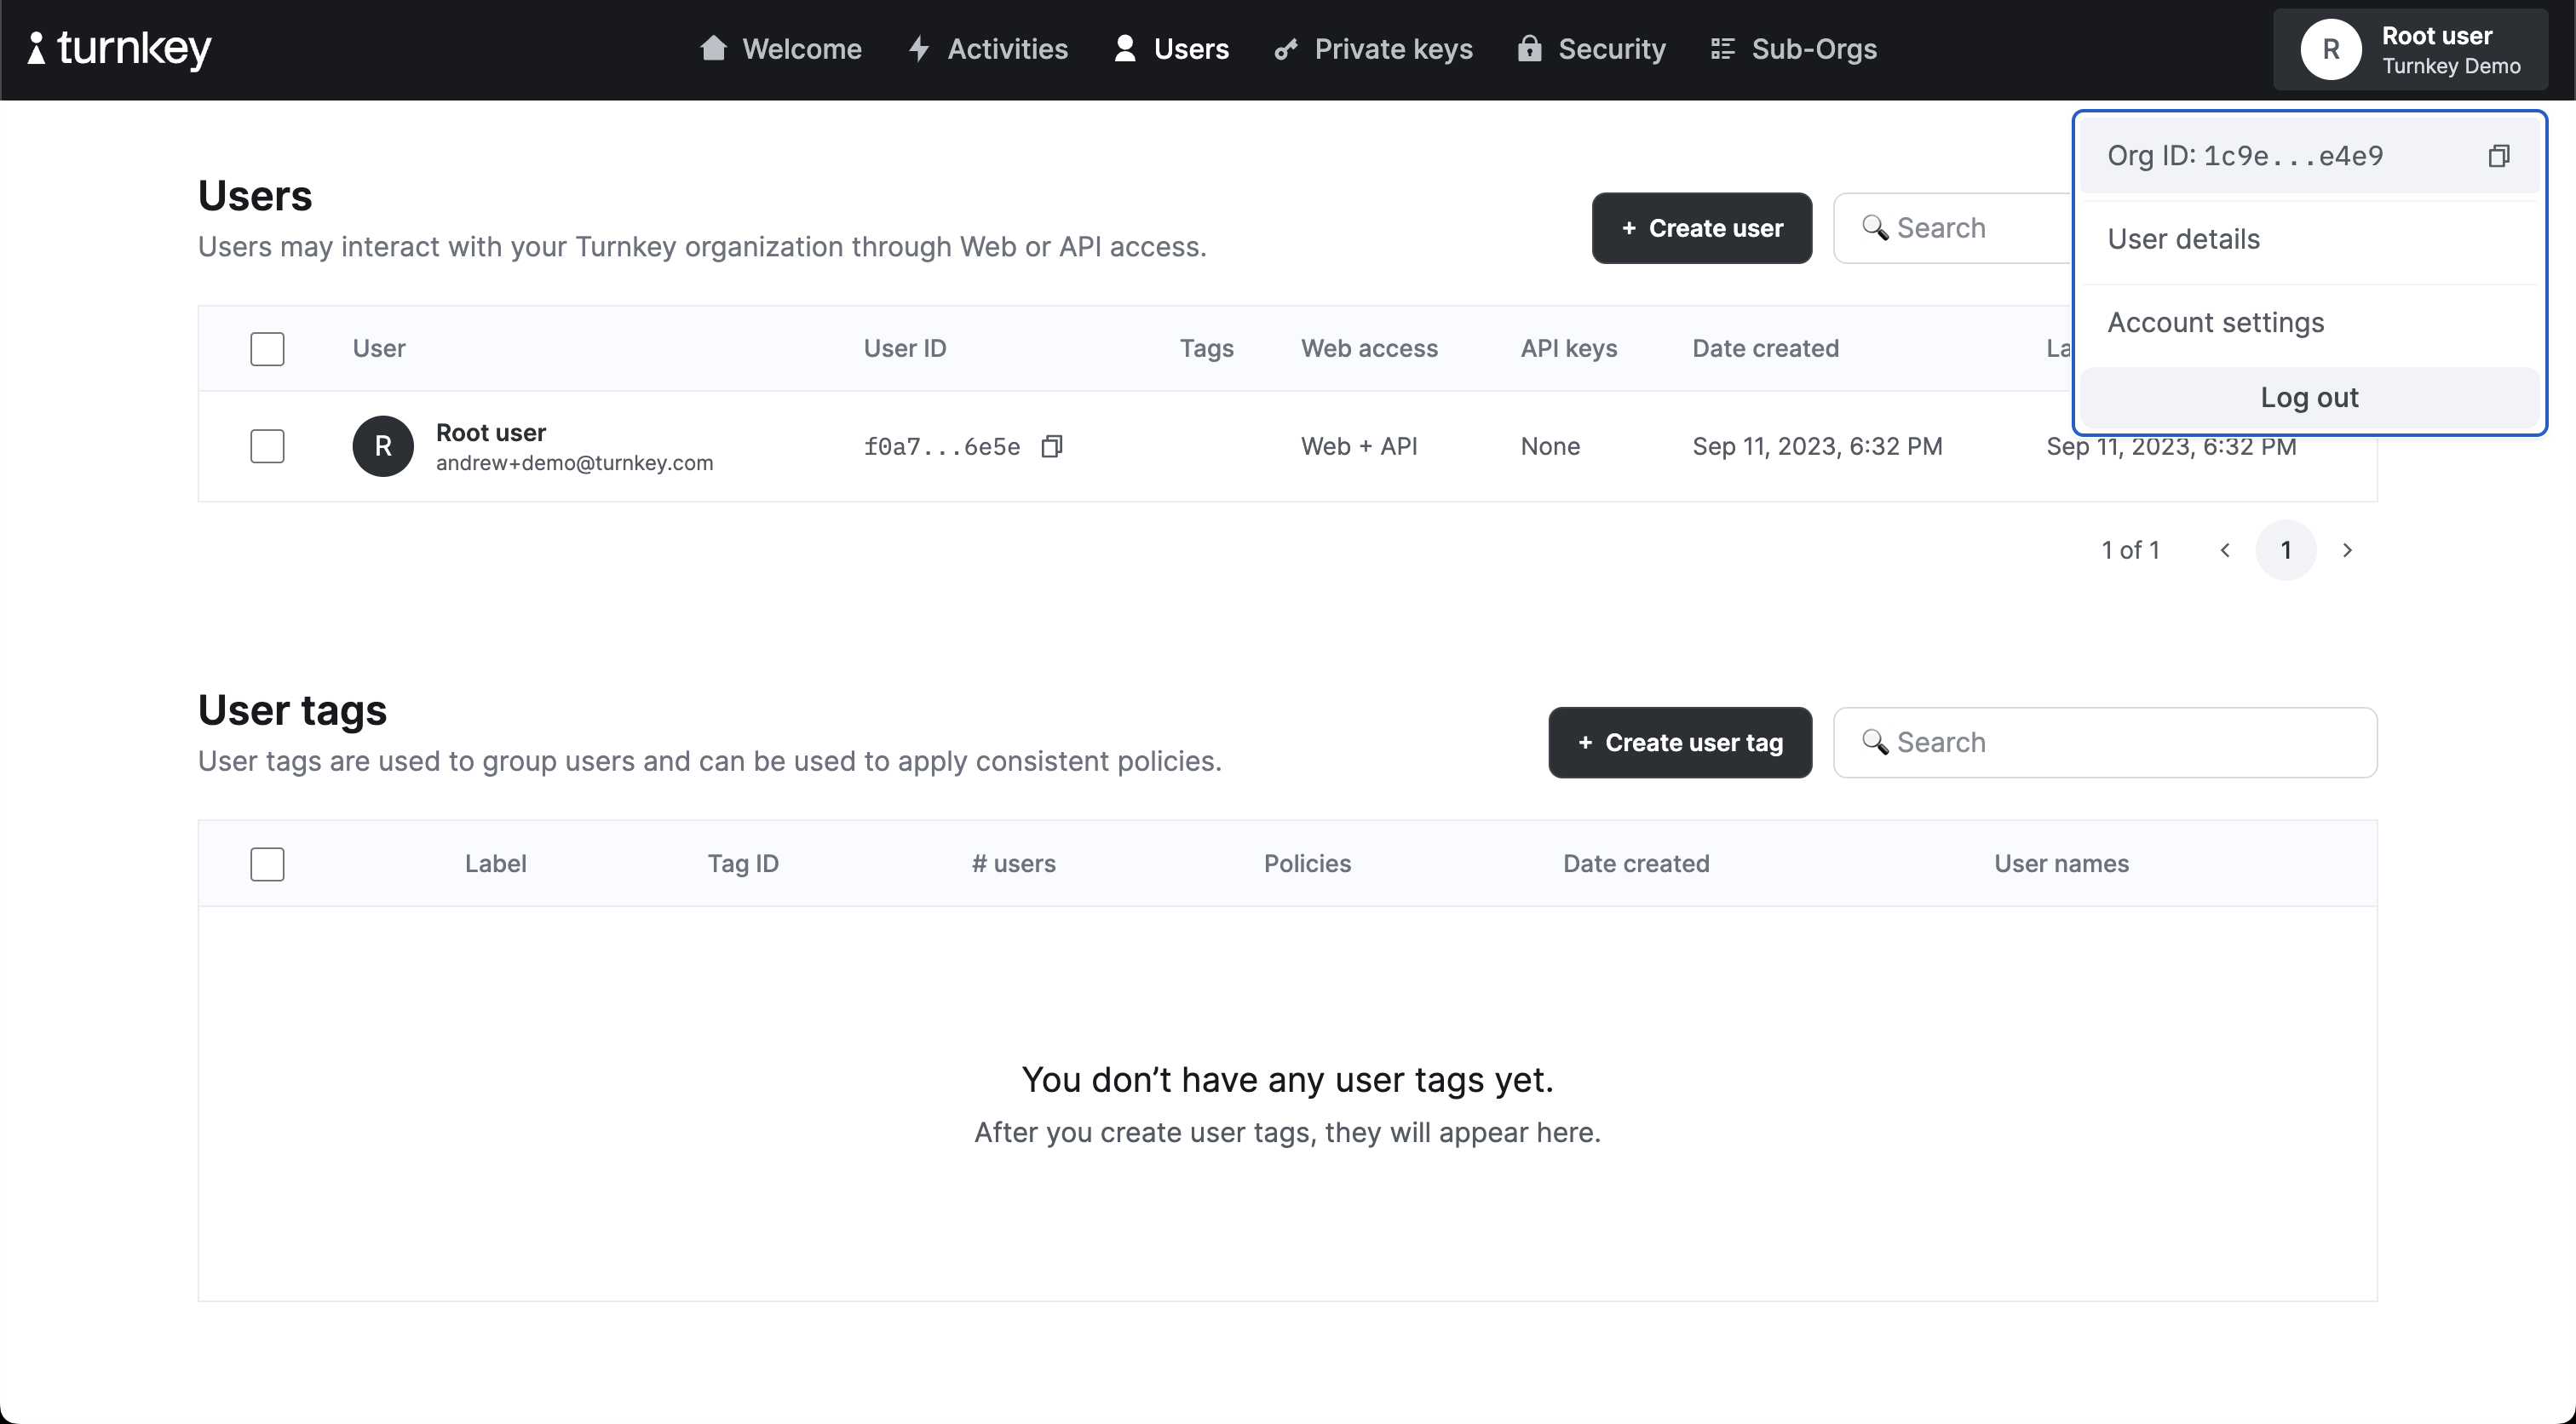
All public API endpoints need an organization ID. You can copy your organization ID by clicking on the user dropdown in the top right corner of the app as shown in the image below.

For convenience, it's worth setting this as a permanent shell variable:
export ORGANIZATION_ID="<Your Org ID>"
Create a new API Key
Turnkey API Keys are generic public / private key pairs. You can generate a new key via either Dashboard or CLI.
Dashboard

- Navigate to your user
- Click on "Create API key"

- Select "Generate API keys in-browser" and continue
- Enter API key name(s)
- Review, save/copy API key details, and approve
CLI
Install turnkey
brew install tkhq/tap/turnkey
Note: We are employing Homebrew in this guide as a quick and easy install path. For an installation path that requires no trust in external parties, refer to our tkcli repo.
Generate a new API key
In your Turnkey implementation, an API key authenticates all API requests.
When you run this command, Turnkey’s CLI generates a standard API key pair and stores the API private key locally. If you've run this command once already, add -k keyname to the end of the command below, replacing "keyname" with any name you'd like. Otherwise, run the command as written to use our default naming.
turnkey gen --organization $ORGANIZATION_ID --key-name demo
Copy the publicKey field in the output.
Add your public API Key

- Navigate to your user via Dashboard
- Click on "Create API key"

- Select "Generate API keys via CLI" and continue
- Enter API key details
- Review and approve
Click on "Add new API keys" and enter a label for the public key you want to add. After this succeeds, you should be all set to interact with our Public API.
Create a new Ethereum Private Key
You can also generate a new private key via either Dashboard or CLI.
Dashboard

- Navigate to the
Private Keystab - Enter private key details
- Review and approve
🥳 you've created a private key! Find it in the Activity Details, or back in the Private Keys tab.
CLI
Creating a new private key is done with the /private_keys endpoint. We can use the Turnkey CLI as follows — note that the flag -k demo is directing the CLI to use your local API key named demo.
turnkey private-keys create --name "ETH Key" --address-format ADDRESS_FORMAT_ETHEREUM --curve CURVE_SECP256K1 -k demo
Once the activity transitions to COMPLETE, visit the Private Keys tab in your dashboard and take note of the Key ID (e.g. e624996e-11c4-48fb-ad56-874ff5a84615), this is what we'll use to sign.

Let's set it as a variable so we can use it to easily sign a transaction in the next step:
export PRIVATE_KEY_ID="<Your Private Key ID>"
Sign a Transaction
Now you can sign any Ethereum transaction you like with this new key with our sign_transaction endpoint. Make sure to replace the unsignedTransaction below with your own. You can use our simple transaction generator if you need a quick transaction for testing:
turnkey request --host api.turnkey.com --path /public/v1/submit/sign_transaction --body '{
    "timestampMs": "'"$(date +%s)"'000",
    "type": "ACTIVITY_TYPE_SIGN_TRANSACTION",
    "organizationId": "'"$ORGANIZATION_ID"'",
    "parameters": {
      "privateKeyId": "'"$PRIVATE_KEY_ID"'",
      "type": "TRANSACTION_TYPE_ETHEREUM",
      "unsignedTransaction": "<Your Transaction>"
    }
}' -k demo
Unlike the previous activity, SIGN_TRANSACTION immediately comes back as COMPLETED because Turnkey's signing-related activities are handled synchronously (we do not need to change any organization data). You can find the signature in the output of the command, or by visiting the activity details page for the SIGN_TRANSACTION activity.
If you'd like to broadcast your transaction, you can easily do so via Etherscan.
Sign a Transaction with Ethers.js
Turnkey provides a drop-in Ethers signer via the @turnkey/ethers package on npm. You can use the signer to sign transactions, and bring your own provider to broadcast them.
Check out the example on GitHub where we create a new Ethereum address, then sign and broadcast a transaction using the Turnkey signer: https://github.com/tkhq/sdk/tree/main/examples/with-ethers/
Sign a Transaction with Viem
Turnkey also provides a drop-in Viem signer via the @turnkey/viem package on npm. You can similarly use this signer to sign transactions, and bring your own provider to broadcast them.
Check out the example on GitHub where we create a new Ethereum address, then sign and broadcast a transaction using the Turnkey signer: https://github.com/tkhq/sdk/tree/main/examples/with-viem/